
Samus Aran's Zero Suit
A lot of hard work and attention to detail goes into putting together one of my catsuits based on the Zero Suit Samus Aran wears in the game METROID: Other M.
Step 1: Research
Before I made the first suit, I looked at lots of pictures of Samus in her Zero suit! Pictures of scale figures are especialy helpful, as they show the character from all sides. Checking out what other cosplayers had done for their costumes helped too. After that, I made some sketches so I could figure out how the different panels were arranged and decided on where to put the zipper . I ended up using shoulder zippers because Samus has a lot of detail on both her front and back, and I didn't want zippers to interfere with that.
Step 2: Making the Pattern
Samus's Catsuit is a variation of my Standard Catsuit, so I start by using the customer's measurements to adjust my catsuit design to fit them. I use this basic pattern to check the fit of all the different panels from Samus's Zero Suit.

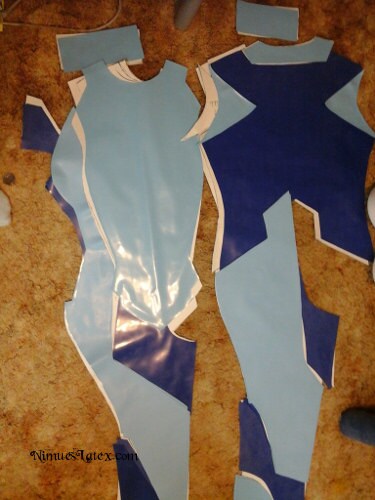
Step 3: Cutting the Material
Now that I've got the pattern ready, it's time to get out the latex material and start cutting pieces out! I keep the pattern pieces out as references to help keep the different panel pieces in the right spots.
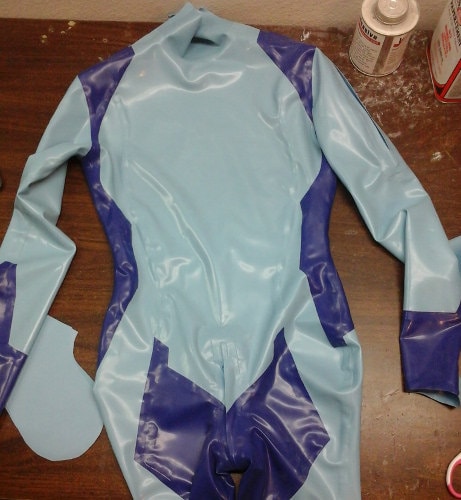
Step 4: Time to Glue!
The chest pieces form the core of Samus's suit and have the most detail, so I start there. I build up, attaching the neck, shoulder, and upper arm pieces so that I can then attach the zippers. Once I have the zippers in place, I can glue the underarm seam and start gluing the back and front pieces together. This is important for making sure the different panels will all line up, and allows me to correct descrepencies as I finish the arms and start in on the lower torso and legs.
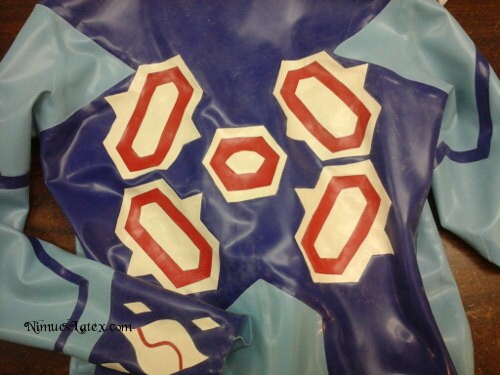
Step 5: Trim & Decals
Once the suit is finished, it's time to add the details! There are lines of decorative trim outlining different panels. Samus also has several decals: there's one on the side of her chest, one on her hand, and a large one over her back. These require some careful cutting and gluing, but these extra details will help the finished suit stand out!
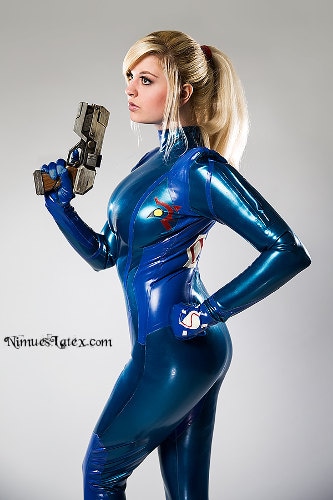
Step 6: Finished! And some notes on color...
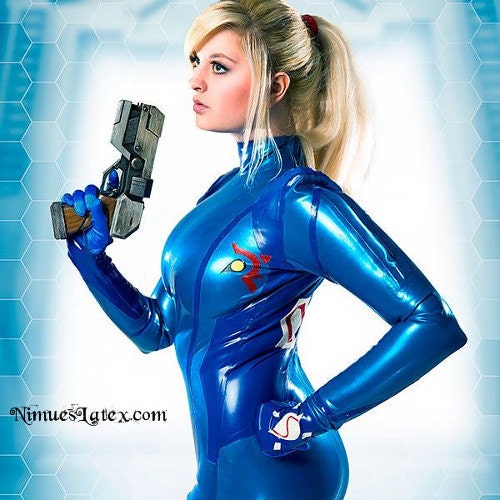
Finished! Samus Aran's Zero Suit is ready to be shined up and worn. Just a note: The photos of the suit in progress were of a suit I made for a customer; the main color was Light Blue and the accent panels were Royal Blue. For the modeling shoot, I made a suit that was Metallic Blue with Royal Blue accent panels. I've also used Nightshade Blue, Metallic Purple, and even Black for the accent panels.
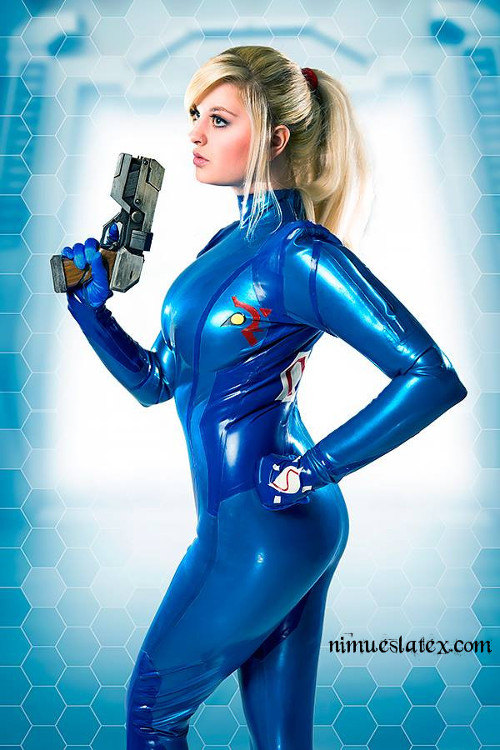
(Optional) Step 7: Add Artwork
An optional step, but if you know an awesome graphic designer, like the very talented Erin Florence (a.k.a. Gas Oven Photography), they can take your cosplay photos to the next level.
Puchase a Zero Suit Latex Catsuit for yourself or a friend here.
Model and Hair & Makeup Artist: Ai Tenshi Misha
Photo and Photo Manipulation by: Erin Florence (or Gas Oven Photography)
Paralyzer Gun prop by Keroga Forge